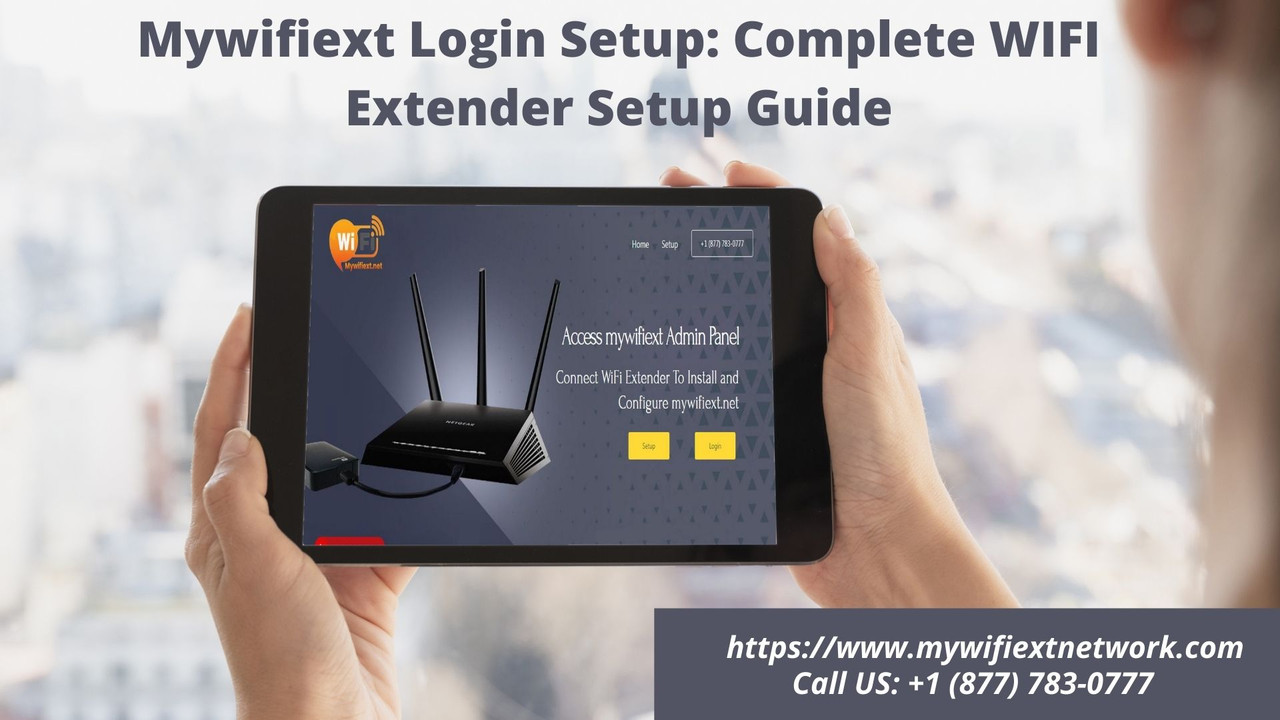
Mywifiext Login Setup: Complete WIFI Extender Setup Guide
Mywifiext.net is the web address where you can perform the WiFi extender setup. It enables you to resolve the WiFi signals and dead zones issues. But, there are several users who are facing issues while they are trying to reach the WiFi Extender login page through http://mywifiext.net. If you are also facing the same issues during the mywifiext.net setup, then you can go with the default IP address 192.168.1.250 for the WiFi range extender setup.
Instructions for mywifiext.net Login for Extender Setup
Once you register your Netgear extender, your account is ready to use and you can access it whenever you want. Look at the below steps for WiFi Extender login via http://mywifiext.net:
Step 1: Connect your Wi-Fi Extender to the power socket after unpacking and adjusting the product.
Step 2: After that, connect all of your devices to your Wi-Fi Extender network.
Step 3: Choose your preferred web browser, such as Chrome, Safari, or Firefox.
Step 4: Navigate to the Netgear device's official website (www.mywifiext.net or www.mywifiext.com).
Step 5: Finally, you must enter your login information, which includes your username and password. Then, select the "Login" option.
With the above details, you can easily log into mywifiext.net account for your WiFi range extender. Thereafter, you can upgrade the WiFi range extender settings. It also helps you in upgrading the pre-existing setup. When you are done with the above steps, you will be able to access the continuous and high-speed internet connection.
Steps for the WiFi Extender Setup Using mywifiext.net
Mywifiext.net setup should be simple to access via the local website www.mywifiext.net. The setup instructions are simple to follow and the wifi extender setup process is straightforward. For mywifiext.net setup, follow the steps below:
Step 1: Connect your WiFi Extender to a power outlet and turn it on.
Step 2: Please ensure that your router is turned on. Make sure that the extender and router are both connected.
Step 3: The WiFi range Extender will automatically direct you to the setup page at mywifiext.net. If not, type mywifiext.net into the address bar of your internet browser.
Step 4: It will now prompt you to either Register your Wifi Range Extender or log in to your Netgear Extender.
Step 5: If you have already registered, you can log in. If you are new, create a mywifiext.net account.
Step 6: Once logged in, proceed with the new extender setup instructions on the page.
Step 7: Save the settings by clicking on the Save button. After saving, simply unplug your extender and reconnect it.
Steps for the WiFi Extender Setup Using WPS Button
Follow the steps below to configure www.mywifiext.net using the WPS method:
Step 1: Firstly, plug the Netgear extender into a power outlet. Switch on your extender.
Step 2: Next, wait for a few moments until the power LED light becomes stable.
Step 3: When the extender's LED light turns solid green, look for the WPS button on your extender device.
Step 4: Next, hold down the WPS button for 10-12 seconds before releasing it when the WPS indicator button turns solid green.
Step 5: From your WiFi-enabled device, launch an updated internet browser.
Step 6: Navigate to the address bar and enter mywifiext.net. Enter your password and press the enter key.
Step 7: If you are not automatically redirected to the extender setup webpage, enter the IP address 192.168.1.250.
Step 8: You will be directed to the new extender setup portal, where you must enter your username and password into the appropriate fields.
Step 9: Select the login option.
Step 10: Follow the instructions on your screen.
Step 11: From the list of available networks, look for the new extender network.
Step 12: Click on the existing router name with NETGEAR_ext.
Step 13: Once connected, you can move your extender to the area where you are experiencing poor network connectivity.
Step 14: Ensure that your range extender is receiving the WiFi signals properly from your router for proper functioning.
Step 15: Using any smart device, tap on the WiFi icon.
Step 16: Locate the new range extender network and tap it to connect. After that, you can use your browser to access the internet.
Source Link:
Are you having problems during mywifiext.net Login Setup? The following are some common reasons why you can't set up a new extender:
-
Typed the wrong website address in the address bar
-
SSID and pre-shared key issues
-
Problem with the domain name server
-
Loose cable connection
-
Hardware-related issues
-
Netgear extender has been disabled
-
Conflicting IP addresses
-
Sever is missing
-
Extender and router settings are incompatible
-
Range extender network is not connected to your device
-
Internet connection is slow
-
Issues with the Windows firewall and ad-blocker settings
-
Outdated or corrupted web browser
With the above details, you can easily perform a WiFi extender setup either using http://mywifiext.net or the default IP address 192.168.1.250 without any hassle. If you have any issues with mywifiext.net Login Setup, reach out to our professional expert team through our helpline number or live chat option for the best assistance.